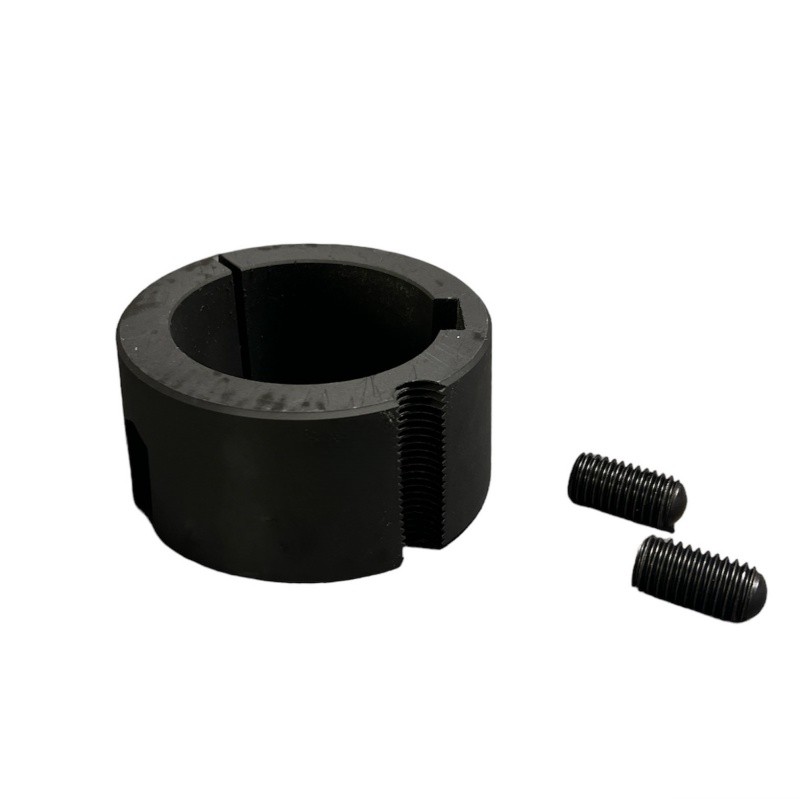
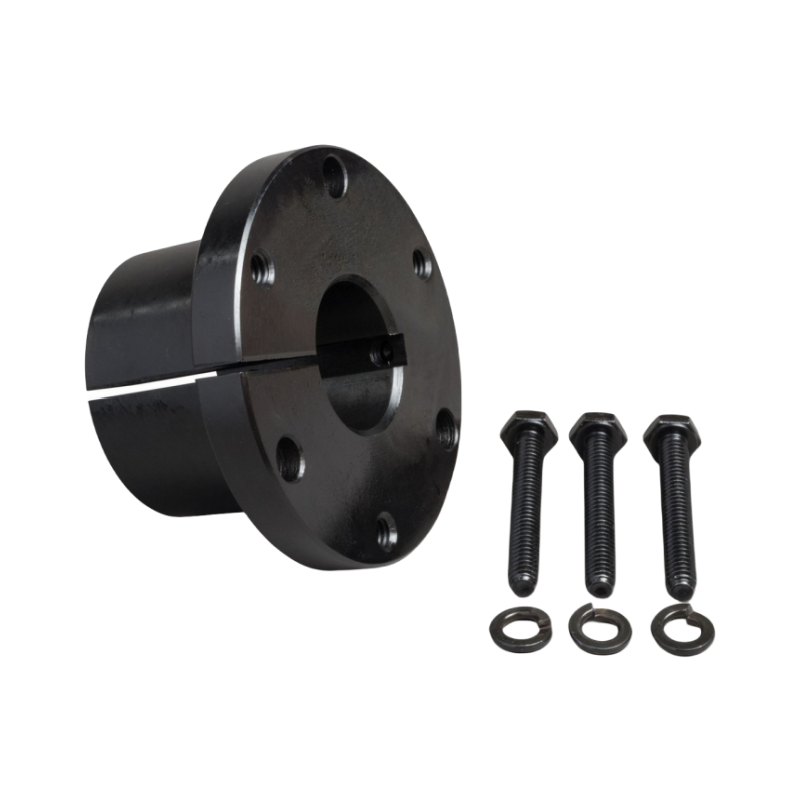
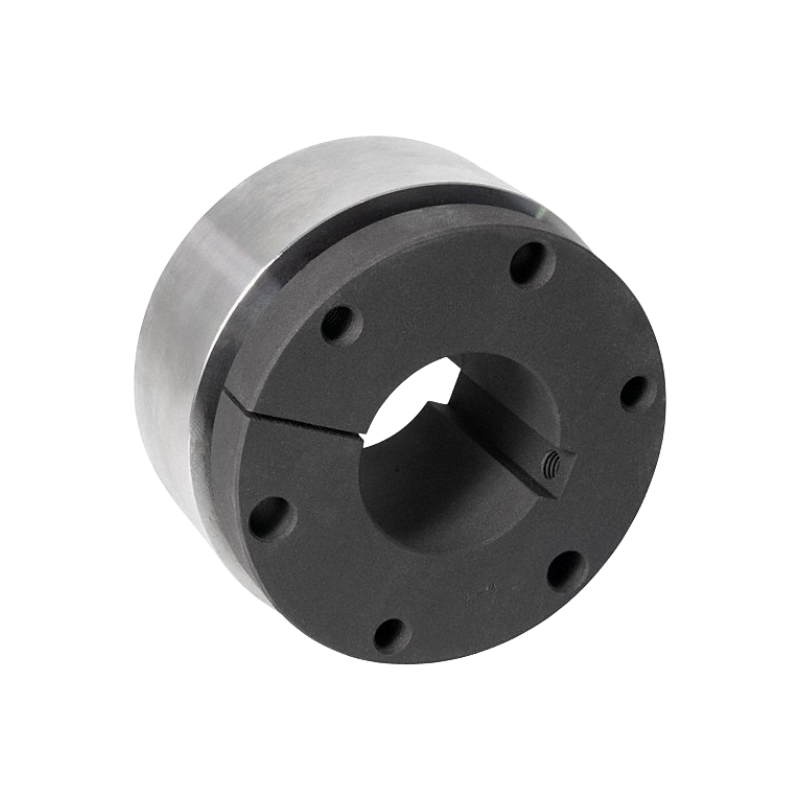
What Is QD Bushing
A QD (Quick Detachable) bushing is a tapered, split bushing used to mount sprockets, pulleys, and hubs onto shafts securely while allowing for easy installation and removal. The tapered design ensures a tight fit, reducing slippage, while the split feature enables quick detachment without requiring excessive force or special tools. QD bushings are commonly used in power transmission applications where frequent maintenance or replacements are needed. They come in various sizes and bore configurations to accommodate different shaft diameters and industrial requirements.
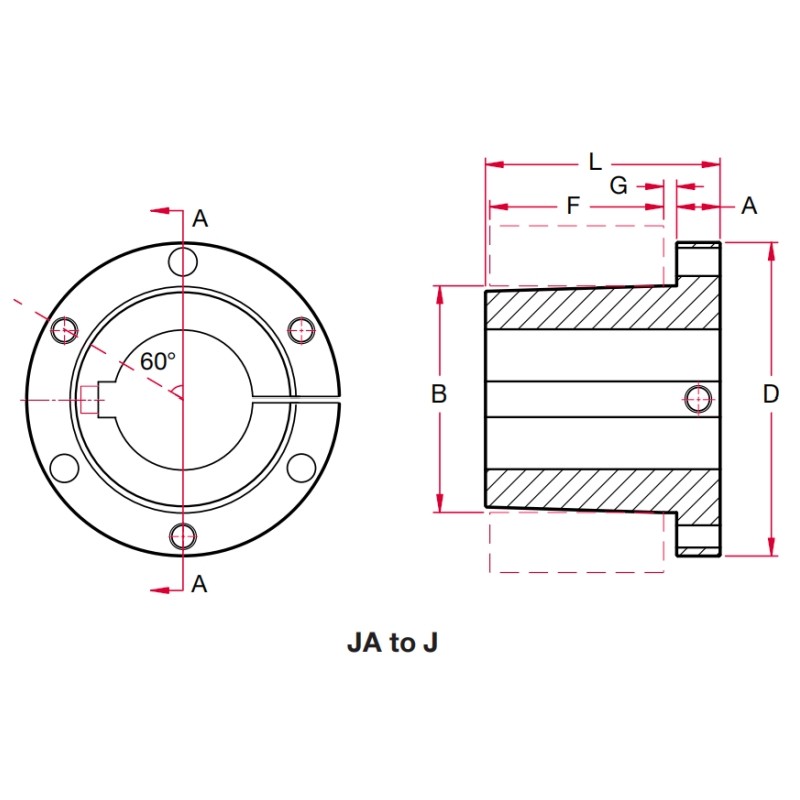
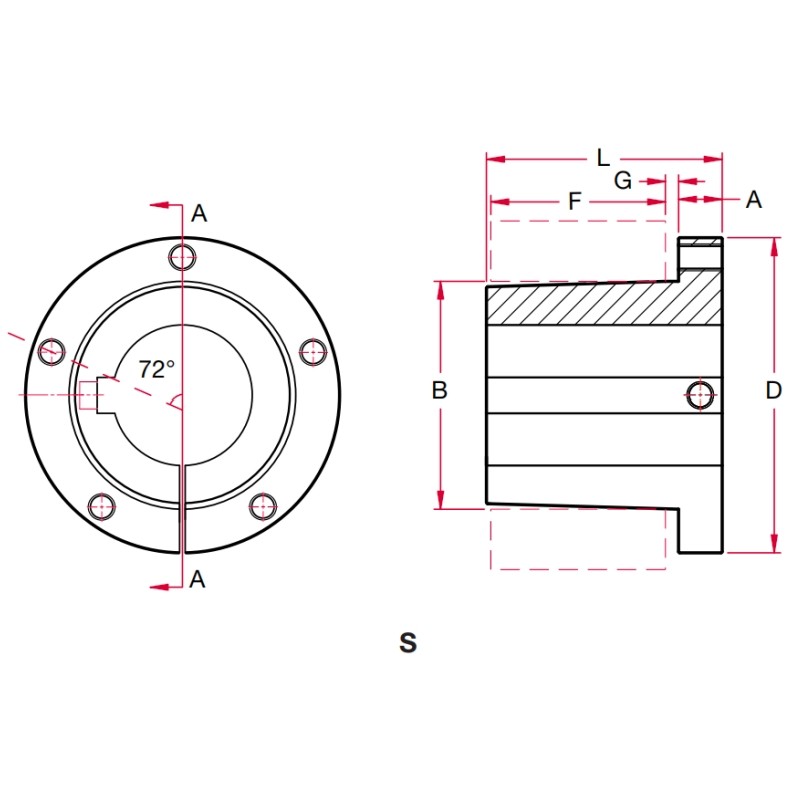
QD Bushing Dimensions

QD Bushing Application

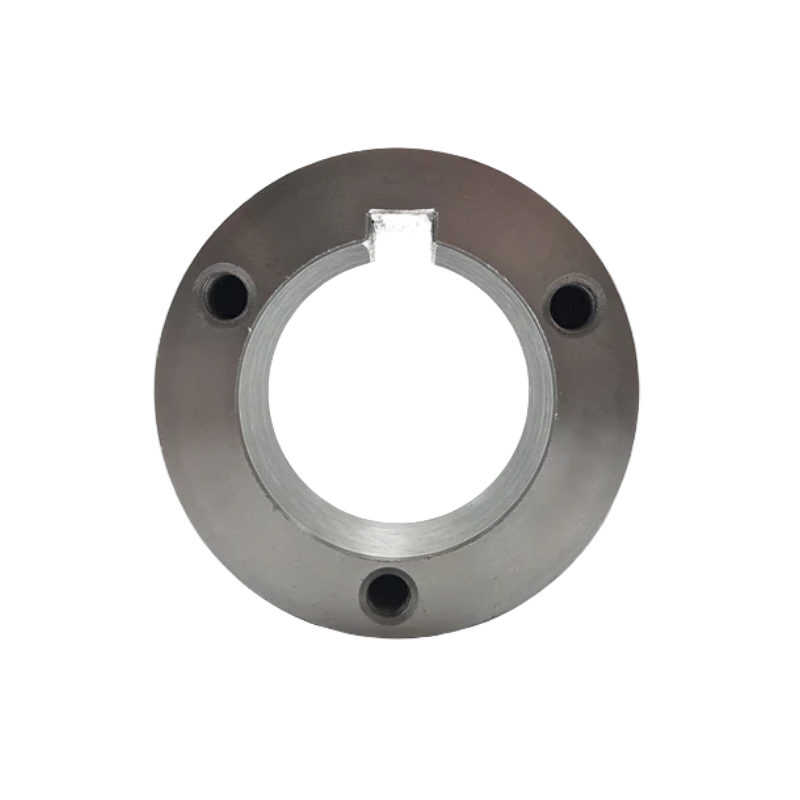
A Sprocket with a QD (Quick Detachable) Bushing is a type of sprocket designed for easy installation and removal using a QD bushing system. This system allows the sprocket to be mounted onto a shaft securely while also enabling quick replacement or maintenance without extensive disassembly.
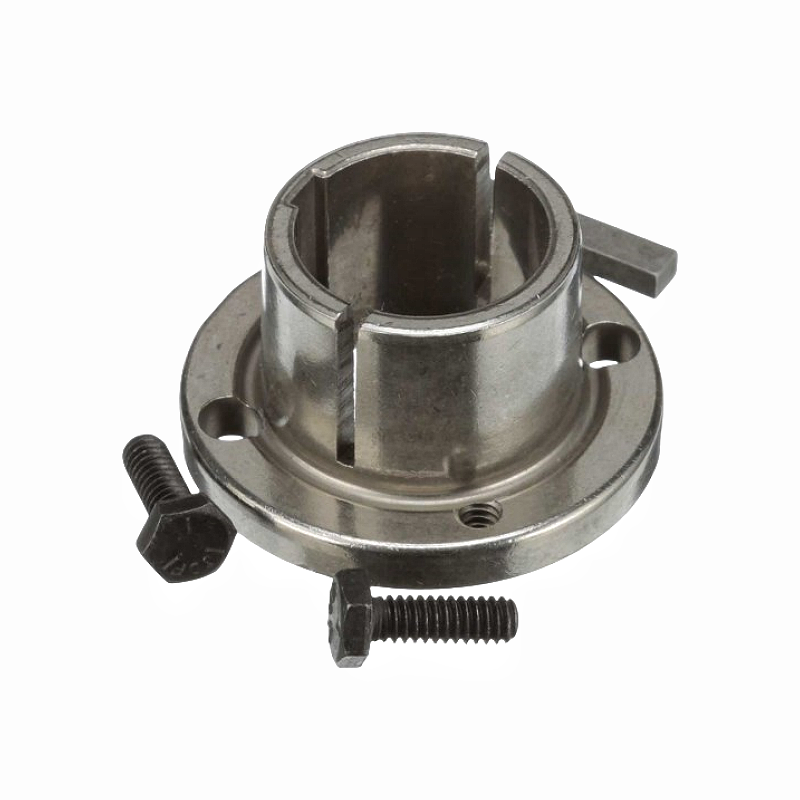
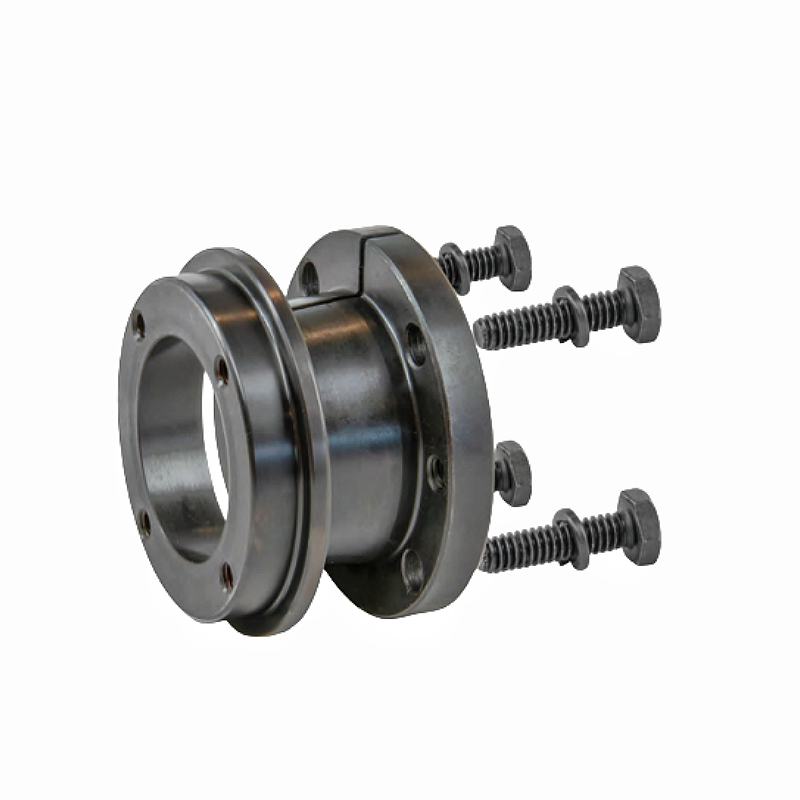
A hub with a QD (Quick Detachable) bushing is a mechanical component designed to securely mount sprockets, pulleys, or other rotating elements onto a shaft while allowing for quick and easy installation and removal.
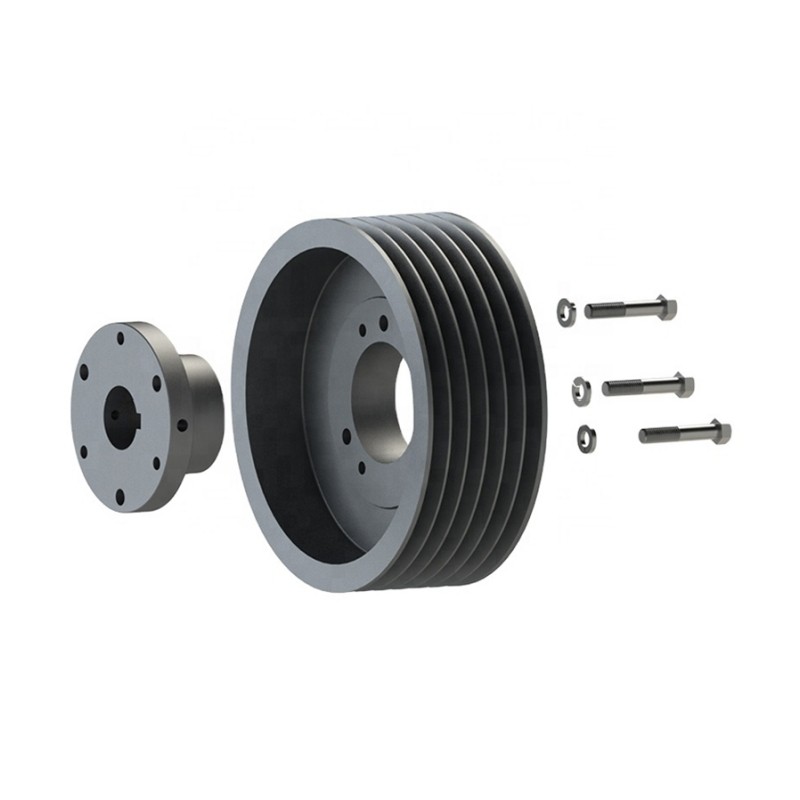
Pulley with QD Bushing
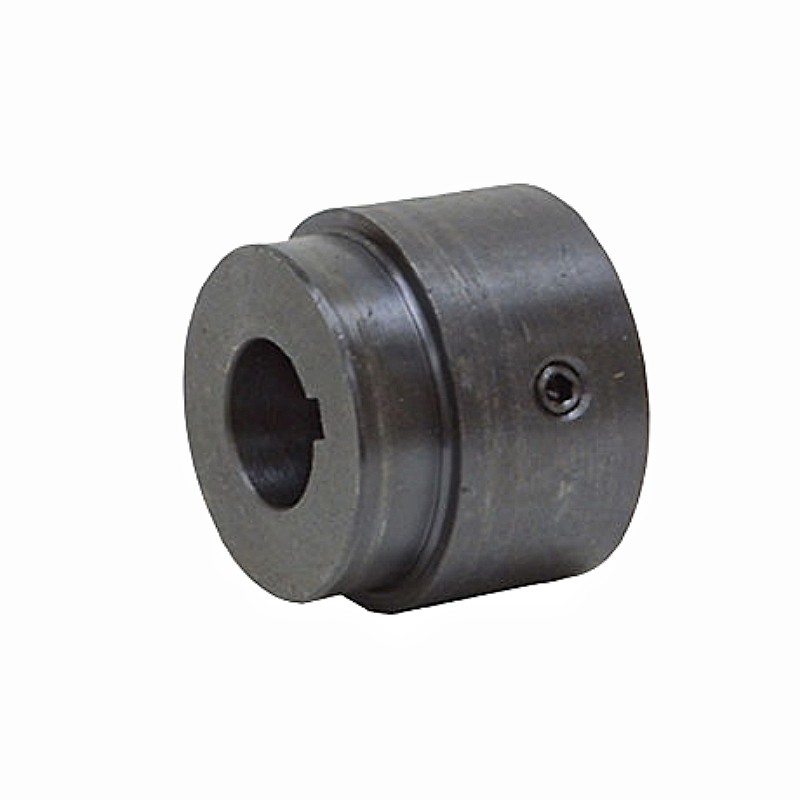
A pulley with a QD (Quick Detachable) bushing is a type of pulley that is designed to be mounted onto a shaft using a QD bushing system. This system allows for quick installation and removal without excessive effort, making it a convenient option for power transmission applications.
How to Install a QD Bushing
Step 1: Clean the Components
Ensure that the shaft, QD bushing, and pulley (or sprocket) are clean and free from dirt, oil, and debris.
Step 2: Insert the QD Bushing
Align the tapered side of the QD bushing with the matching tapered bore of the pulley or sprocket.
Push the bushing into the hub until it sits properly in place.
Step 3: Position the Assembly on the Shaft
Slide the assembled QD bushing and pulley (or sprocket) onto the shaft.
Position it at the desired location along the shaft for proper belt or chain alignment.
Step 4: Insert the Cap Screws
Insert the cap screws into the installing holes (not the removal holes) on the bushing.
Tighten the screws evenly in a crisscross pattern to ensure uniform pressure.
Do not fully tighten the screws yet.
Step 5: Tighten the Bushing
Using a torque wrench, tighten each screw gradually in small increments.
Follow the manufacturer’s recommended torque specifications to prevent over-tightening.
Step 6: Verify Shaft Alignment
Rotate the pulley or sprocket by hand to check for any wobbling or misalignment.
Make any necessary adjustments before fully securing the screws.
Step 7: Fully Secure the Screws
Once everything is aligned, tighten the screws to the final torque value in a crisscross pattern.
This ensures a secure fit between the bushing and the shaft.
Step 8: Check for Proper Fit
After installation, run the machine at low speed to check for any unusual vibration or misalignment.
Re-torque the screws after the first few hours of operation to ensure they remain secure.
Final Tips:
Do not lubricate the tapered surfaces of the bushing, as this can cause improper seating.
Always follow the torque recommendations provided by the manufacturer.
Check for wear or damage on the bushing before reinstallation.
How to Remove a QD Bushing
Step 1: Loosen and remove the cap screws.
Step 2: Insert the screws into the removal holes and tighten them evenly.
Step 3: This forces the bushing to release from the hub for easy removal.
CTS® | Professional Bushing Manufacturer
CTS®-ChinaTransmissionS is a professional bushing manufacturer. Besides bushings, we also provide other power transmission parts: roller chains, conveyor chains, chain sprockets, v-belt pulleys, timing belt pulleys, taper bush & hubs, couplings, gears & racks, etc.
If you have any questions about roller chains, please contact us.